

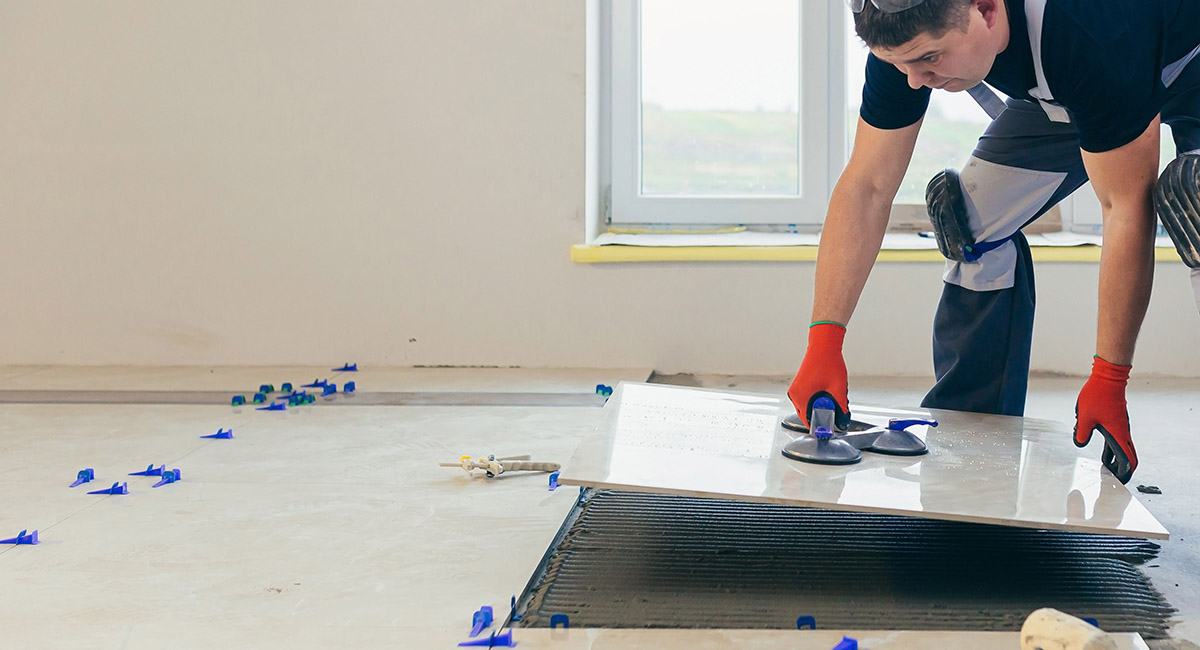
Installation Techniques for Gauged Porcelain Tile
By Logan Reavis
A decade ago, many in the construction industry thought thin tile, properly called gauged porcelain tile (GPT), might be just a fad and fall by the wayside. Despite that early skepticism, it has only gained in popularity year-over-year.
What’s behind GPT’s increasing acceptance?
A big part of it is the search for sustainability in building. Along with being lightweight, these tiles and tile panels/slabs are produced using fewer raw materials and less energy in manufacturing and even shipping. This combination of qualities makes GPT a perfect choice for many ‘sustainable’ installation projects.
Industry Standards for GPT
The American National Standards Institute (ANSI) A137.3 lists a thickness range for GPT from three to 6.5 millimetres. Traditional dust-pressed porcelain tiles are greater than seven millimetres thick. This makes GPT installation somewhat different from that of standard-body porcelain tile, requiring special techniques during and after installation. In addition to the reduced tile thickness, many GPT panels/slabs are produced in large-format sizes ranging from 20-inch by 20-inch to 63-inch by 126-inch (51 by 51 centimetres to 160 by 320 centimetres) or larger, which may require special tools and equipment when handling, placing and adjusting the tiles.
Before tile selection and installation, consult the GPT manufacturer to determine the tile’s suitability in accordance with federal, provincial and local municipal codes. Also, refer to the most current installation methods of the Tile Council of North America (TCNA) or Terrazzo Tile and Marble Association of Canada (TTMAC).
ANSI A108.19 provides procedures and requirements for interior installation of GPT. ANSI A108.20 was subsequently adopted regarding procedures and requirements for their exterior installation, too.
Surface Preparation
Interior floors must be structurally stable and capable of supporting the tile, setting system and associated live and dead loads. Concrete and existing tile over concrete should be fully cured and free of soap scum, dust, dirt, oil, wax, sealers, paint, coatings and any other substances that could reduce or inhibit proper adhesion performance.
Acceptable substrates for GPT are concrete slab, either on-grade or above-grade, and existing tile, so no long as it is sound, well-bonded and properly prepared. There are two methods of preparation. Mechanical abrasion with a carborundum disk followed by a clear water wash is recommended. Alternatively, the existing tile (only preexisting tile installed on a concrete substrate) must be primed with a suitable primer.
Gypsum underlayments are also acceptable substrates. However, to avoid a chemical reaction known as ‘ettringite,’ they must be primed before installation of a cementitious mortar system.
Installations over plywood and backerboard should be restricted to methods that incorporate the criteria contained in standards F141-17 Stone or F250-17 Stone and to tiles at least 5.5 millimetres thick. This is because such large sizes have increased the potential for differential deflection over plywood and backerboard installations and diminished the breaking strength of GPT.
Certain sheet membranes are considered suitable substrates, too, but for residential installations only.
Large-format GPT should not be installed over oriented strand board due to its dimensional instability in supporting these larger tiles.
Achieving Flooring Flatness
The substrate receiving GPT should be prepared to a floor flatness greater than 50. All approved and properly prepared substrates should have no more than a permissible variation of one-eighth of an inch in 10 feet (three millimetres in 3.05 metres) from the required plane, nor more than one-sixteenth of an inch in 24 inches (two millimetres in 60 centimetres) when measured from high points in the surface with a straight edge.
It is important to note floor flatness numbers are generally taken within 72 hours of slab placement, after which time the slab conditions can change. Slab flatness requirements should be re-evaluated before installation of any GPT panels/slabs.
To achieve acceptable floor flatness, a cementitious self-levelling underlayment can be used before installation. Always use the appropriate primer before application.
Proper Bonding and Movement Joints
Following the ANSI standard, a successful installation of GPT panels/slabs requires that mortar on tile and substrate have ridges parallel to each other. Overspread the footprint of the tile to adequately support the edges. Trowel from the middle-out for pieces larger that 20 inches (one metre) on any side. Then, apply a minimum bond coat thickness of three-sixteenths of an inch (4.5 millimetres).
Whichever mortar is chosen, be sure to follow application instructions carefully, as detailed within the product’s technical datasheet. Use trowels that don’t require pressing and sliding to achieve ridge collapse and ensure maximum coverage.
All grout joints should then be packed full and free of voids.
Provide for expansion and control joints as specified per TCNA method EJ171 or TTMAC specification guide 09 30 00, detail 301MJ. Do not cover expansion joints with adhesive.
When these recommendations are followed, a successful and smart-looking project should be achieved — one that can also meet the specification for more sustainability in construction.
Logan Reavis, technical services manager, has been with Mapei since 2014. He is a U.S. Green Building Council LEED green associate and a Construction Specifications Institute construction document technologist. Logan grew up around the floor covering industry. After completing his bachelor’s degree, he began his career in the industry. He has more than 21 years of experience, having also worked in distribution and on the flooring contractor side of the business.